All labsStart: Close the circuit
Electronics bench
Build real circuits from a supply, a resistor and an LED — then measure them, break them, and fix them. Ends where a microcontroller begins.
Briefing
You are at a workbench with a battery, some resistors and a handful of LEDs. Nothing is wired yet. Over eight boards you light your first LED, learn why it needs a resistor, measure one with Ohm's law, and finish where a microcontroller pin takes over.
You'll learn to
- Wire a working LED circuit and say why the resistor is there
- Use Ohm's law to pick a resistor from a voltage and a current
- Tell series from parallel, and find why a circuit isn't working
- Read a switch, and then a microcontroller pin, as a gap you open and close
0 of 8 steps done0%
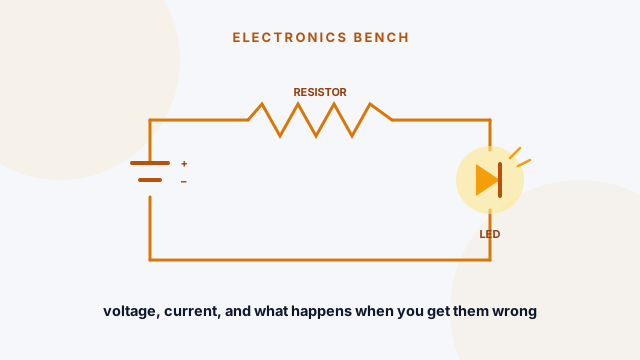 Before you build a circuitOptional warm-upVoltage, current, resistance, and why an LED always needs a resistor. Ten minutes.
Which way round
An LED only works one way, and nothing warns you
Pick the resistor
Enough to be bright, little enough to survive
Ohm's law
The mystery resistor
Two at once
Side by side, not end to end
Why isn't it working
Nothing is unplugged. It still does not light.
A switch is a gap
Controlled on purpose, this time
A pin is a switch
The one the program presses